- Print Creativity
- Digital Photography
-
Home & Living
- Virtual Architect Home & Landscape Platinum 11
- Virtual Architect Home Design For Mac
- Virtual Architect Instant Makeover 2.0
- Virtual Architect Kitchens & Baths 11
- Virtual Architect Professional Home Design 11
- Virtual Architect Professional Home Design For Mac
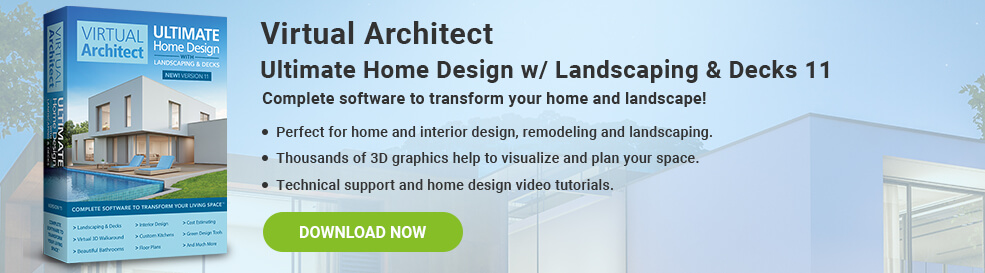
- Virtual Architect Ultimate Home with Landscaping & Decks Design 11
- Utilities