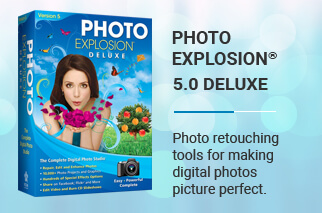
Support | Learning Center | Photo Explosion Tutorials

Create an Awesome Birthday Invitation in Minutes!

Did you know there are more birthdays in October than any other month? Get ready for that special birthday with Photo Explosion birthday projects! These include invitations, photo album covers, banners, flyers, scrapbook pages and much more! Here's how to make an invitation in 5 easy steps:
 
Step 1: Choosing a Project
When you open Photo Explosion you will be in the Browse mode. Please choose the Project Mode. In the Get Project menu select Geeting Cards. Please choose Invitations.


Step 2: Selecting a Template
Choose a template by double-clicking it. There are a bunch of them ranging from baby showers to wedding invitations.


Step 3: Inserting a Photo
The template comes with a placeholder picture. Replace it with your own picture by clicking on the placeholder to select it and then clicking on the rectangular icon below it. Then get your picture from your digital camera, scanner, video capture or computer files.


Step 4: Customizing the Text
Double-click the template's text. The text tools will automatically appear on the left, allowing you to write your own message. Also change the font and color and even add texture or a gradient to it! Select Apply when done. To resize your text, click and pull any of the square nodes surrounding the text.


Note: Add pizzazz to your text by with a shadow, special effects, reshaping or transformation. These options are in the Edit menu under Text.


Decide where you want the text relative to the photo. Click to select the text (or photo), then drag and drop anywhere on the invitation!


Step 5: Printing
Select a print option. We recommend choosing Multiple in the Print menu. On the left choose paper types and layouts. In Avery select C2356 for a Full Size Card.
 
Return to Tutorials