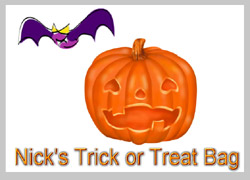
| Get your child ready for Halloween with a
personalized Trick-or-Treat Bag! You'll need a cotton or cotton/polyester blend
bag, iron-on paper and an iron. |
| |
Step 1: Choosing an Image
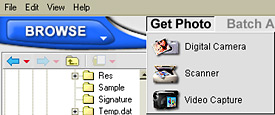
Launch Photo Explosion and select Browse or Edit Photo on the opening screen.
Get your photo from your digital camera, scanner, video capture or choose an
image from the files in your computer by selecting the folder containing the
image and double-clicking the appropriate thumbnail.
|
|
 |
| |
|
Step 2: Adding Text
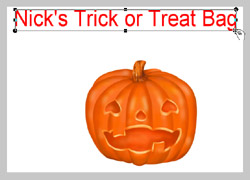
Add text by going to the Text menu, and choosing Add/Edit. The text tools will
appear on the left, allowing you to write your own message. You can also change
the font and color and even add texture or a gradient to it! Select Apply when
done.
|
|
 |
| |
|
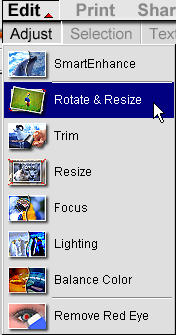
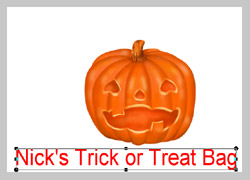
To resize the text, go to the Edit menu, choose Adjust and
select Rotate & Resize. Then click and pull any of the square nodes
surrounding the text. To move the text, simply drag and drop.
|
|
|
| |
|
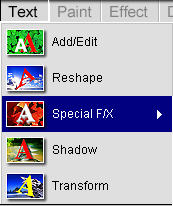
Add pizzazz to your text with special effects. In the Text menu
choose Special F/X. You can add a neon glow, 3-D, fire, and snow effects and
much more. We've chosen the Imprint effect. Choose from the imprint options and
select Apply when done.
|
|
 |
| |
|
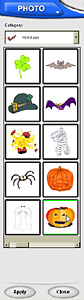
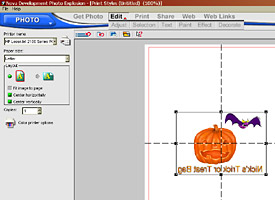
Step 3: Inserting Decorations
In the Edit menu choose Decorate and select the Props option. The props will
appear on the left. Please select the Holiday category and look for the bat.
Click on the bat and insert it into your image by clicking Apply. The bat can
be resized and moved in the same manner as the text (see Step 2).
|
|
 |
| |
|
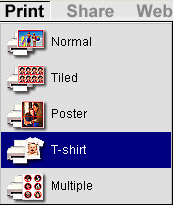
Step 4: Printing
Go to the Print menu and choose T-shirt. On the left select the layout and
paper size. Then print and iron your image onto a cotton or cotton/polyester
blend bag or pillowcase.
|
|
 |
| |
| Return to Tutorials |
| |