|
|
Support | Learning Center | Photo Explosion Tutorials
Valentine Greeting Card
|
Surprise your valentine with a romantic card created using
Photo Explosion�s great templates, text effects and decorations. We�ll guide
you through the different text options and teach you how to customize your
card. You�ll need a color printer, paper of your choice, and a bit of
creativity.
|
| |
|
STEP 1: Choosing a Project
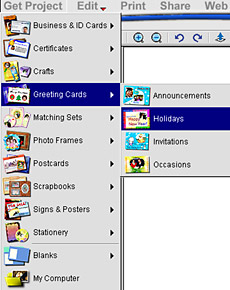
Launch Photo Explosion and select Create Project on the opening screen. In the
Get Project menu select Greeting Cards and choose Holidays.
|
|
 |
| |
|
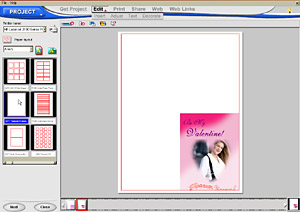
STEP 2: Selecting a Background
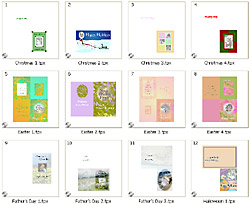
Choose a template by double-clicking it. Template themes include Christmas,
Easter, Mother's Day and more. Please note you can use your own picture
to create a custom background. Select any background and then click on the
rectangular icon to get your picture from your digital camera, scanner, video
capture or computer files.
|
|
|
| |
|
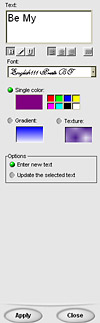
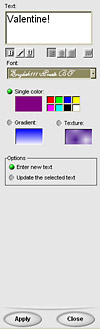
STEP 3: Write Your Note
Click on Edit and Choose the Text Menu. Click on Add/Edit to insert text.The
text tools will appear on the left side of your screen. Enter your message in
the text box, then, select a font, choose a color, or apply a texture or a
gradient effect. Select Apply when done. Please follow this step for each
effect desired. For example, if you wish to apply an effect to just one word or
sentence, enter that text separately.
To move your text, simply drag and drop it to the desired
location and to resize it, click and pull any of the square nodes surrounding
the text.
|
|
 |
| |
|
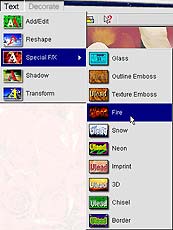
Add pizzazz to your text with a shadow, special effects,
reshaping or transformation. These options are in the Edit menu under Text. In
our example we show reshaped text, and a fire effect.
|
|
 |
| |
|
STEP 4: Add Decorations
Go to the Decorate menu to add clip art, a frame, signature and more. Just
select a decoration and double click on it to insert it into your project.
|
|
 |
| |
|
Step 5: Printing
In the Print Menu choose Multiple. Then select the type of paper you�d
like to print on. We selected a landscape paper layout and chose Avery
paper: 3277 Textured Canvas.
|
|
 |
| |
| Return to Tutorials |
| |
|