|
Support | Resource Center | PhotoImpact Pro
Producing Realistic Images with High Dynamic Range (Part
1 - Part 2 - Part
3 - Part 4)
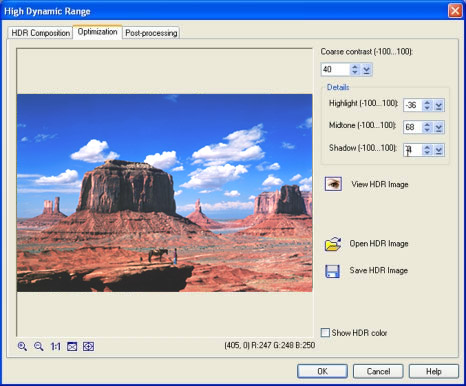
Step Seven:
You can adjust the Coarse contrast setting
from -100 to 100. But for the composite image in this tutorial, a value
of 40 was applied. The coarse contrast
value determines the overall contrast setting. Details,
on the other hand, allows you to make individual Highlight,
Midtone, or Shadow
adjustments to bring out finer details in the light, midtone, or dark
areas in the image.
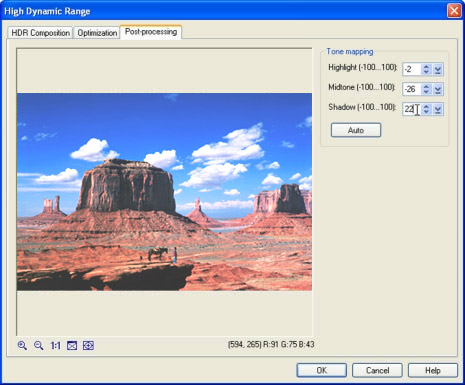
Step Eight:
Click the Post-processing tab to make
Tone mapping adjustments to the Shadow,
Midtone, and Highlight settings. The composite image in this tutorial
used a tone mapping of –2 for
Highlight, -26
for Midtone, and 22
for Shadow.
Step Nine:
Click OK to close the High
Dynamic Range dialog box. A new document will be created containing
the composite image. If necessary, you can apply the other tonal correction
tools like Tone Map, Color
Balance or Brightness/ Contrast
on the image. Select File: Save As to
save.

This is the result after applying High Dynamic Range on the underexposed
sample photo.
(Part
1 - Part 2 - Part
3 - Part 4)
Back
to PhotoImpact Pro Tutorials
|