|
Support | Resource Center | PhotoImpact Pro Using Objects to Compose an Animation (Part 1 - Part 2 - Part 3 - Part 4) 15. Duplicate more frames. Duplicate and resize more painted areas and drag the paintbrush to different positions. Repeat this process until you have the entire canvas covered with paint - painted from left to right, top to bottom.
NOTE: When painting in the opposite direction (that is, upward), duplicate the paintbrush and rotate the second paintbrush by selecting the Transform Tool . Then in the Attribute Toolbar, enter 180 degrees and click either of the rotate buttons.
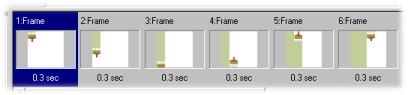
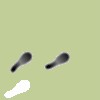
16. After you've finished painting the whole canvas, you need the footprints to "walk" over the freshly painted area. Click Duplicate Frame and hide first the paintbrush. Then look for the black footprints from the Object Manager Panel and duplicate each foot twice to come up with three (3) sets of footprints.
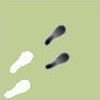
17. You also need the same footprints but in plain white color to suggest the "trail" left by the footprints after having walked over wet paint. To do this, duplicate a black footprint and convert it to white. Then, make duplicates to come up with three sets of white footprints. NOTE: Here's how to convert the black footprint into white. Select a black footprint. Set the Foreground color to white, then select the Fill Tool . In the Attribute Toolbar, set Similarity to an extremely high value. (For example, set it to the maximum, 255.) Then, click on the black footprint to completely turn it into white. 18. On the Frame Panel, add more frames, insert the footprints one by one, alternating left and right foot as if someone is walking across the room and leaving a trail.
There are other types of objects that you can create and add to an animation project, such as text objects and banner text. Check out the other GIF Animator tutorials to learn more. (Part 1 - Part 2 - Part 3 - Part 4) Back to PhotoImpact Pro Tutorials
|