|
Support | Resource Center | PhotoImpact Pro Creating a Banner Advertisement (Part 1 - Part 2 - Part 3) Using Add Banner Text
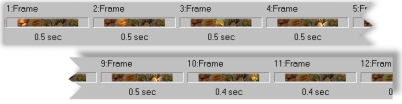
1. First, PhotoImpact Pro was used to create six images for the banner ad. Click here if you want to know how these images were created in PhotoImpact Pro. 2. In GIF Animator, open a new animation project by selecting File: New. Set the canvas size to 480x60 pixels, the standard size for horizontal banners. 3. Now import the images. Select File>Add Image, select all the image files (select them while holding the Ctrl key down), then click Open. 4. Insert new frames and display one image per frame. (If necessary, duplicate frames to display the images all over again.)
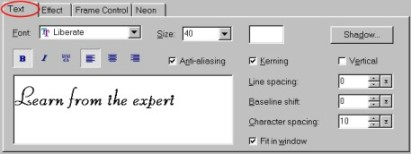
NOTE: To display an image, make sure that the Eye icon for that image is selected in the Object Manager Panel. 5. Next, you can now add some banner text. On the Frame Panel, click the frame where we want the banner text to start and select Frame>Add Banner Text. 6. The Add Banner Text dialog box opens, displaying four tabs: Text, Effect, Frame Control, and Neon. In the Text tab, type your text and specify the font settings.
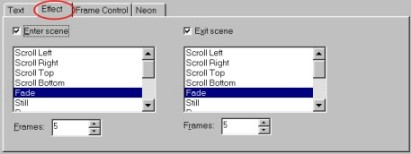
7. Next, specify the animation effect for your text. In the Effect tab, select from the lists how you want the text to Enter scene and Exit scene. In this tutorial, use the Fade effect for both so the text will smoothly fade in and out.
8. Enter the number of frames (use 5 for each effect) to specify how many frames you want each effect to last. 9. In the Frame Control tab, set the Delay time between frames to determine how long each frame remains on the screen before moving on to the next frame. Then specify the Key frame delay to determine the interval time between the fade in and fade out effect. This sets how long the fade in effect stays on before the fade out effect starts taking place. 10. Select Distribute to frames. This places the banner text throughout the underlying animation starting from the frame you selected. Back to PhotoImpact Pro Tutorials
|