|
Support | Resource Center | PhotoImpact Pro
Producing Realistic Images with High Dynamic Range (Part
1 - Part 2 - Part
3 - Part 4)
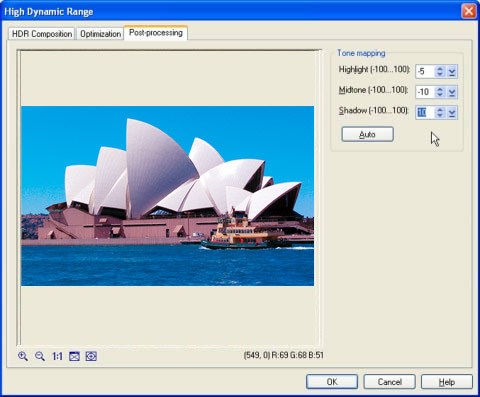
Step Eight:
Click the Post-processing tab to make
Tone mapping adjustments. For this tutorial,
the values used are -5 for Shadow,
-10 for Midtone,
and 10 for Highlight.
Step Nine:
Click OK to apply the adjustments to
the image and close the High Dynamic Range
dialog box. A new document will be created containing the optimized image.
Select File: Save As to save.
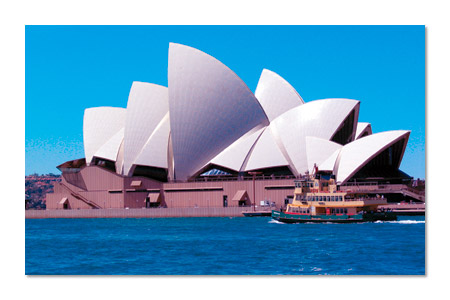
The optimized image contains a greater tonal range.
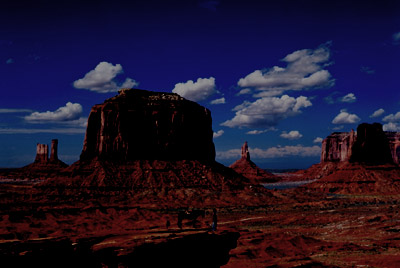
Applying HDR to a Single Image
You may also correct the exposure of a single photo using High Dynamic
Range. Even images with subjects in motion can be optimized provided that
you use the camera curve profile for the digital camera used to take the
shot.
Step One:
Open the image in PhotoImpact.
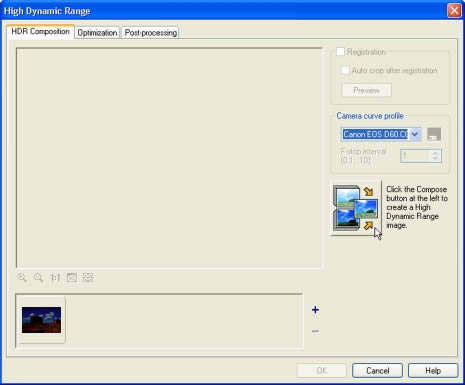
Step Two:
Select Format: High Dynamic Range.
Step Three:
For faster processing, select the Camera curve
profile that you previously saved for your digital camera. Refer
to the section on "Creating
a Camera Curve Profile" regarding this.
Step Four:
Click Compose to create the HDR image.
This takes you to the Optimization tab
where an optimized image based from the tonal information from the HDR
image is shown in the Preview Pane.
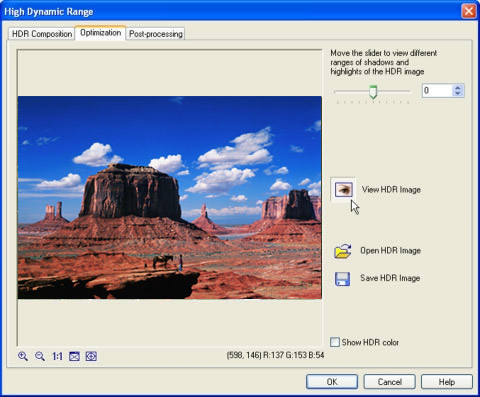
Step Five:
Click View HDR Image to view the full
range of the HDR image’s darkest shadows and brightest highlights.
The image in the Preview Pane is the
HDR image. Due to your monitor’s display limitations, only certain
highlight and shadow ranges can be shown at a time. Since you can only
view a certain highlight and shadow range, move the slider to view a particular
range. Move the slider to the right to view a particular highlight range
value or move it towards the left to view a particular shadow range value.
Step Six:
Click View HDR Image again to return
to the optimized image.
(Part
1 - Part 2 - Part
3 - Part 4)
Back
to PhotoImpact Pro Tutorials
|