|
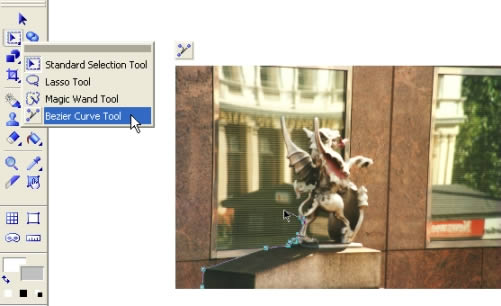
Support | Resource Center | PhotoImpact Pro Correcting Photos Using Filters and Effects (Part 1 - Part 2 - Part 3) Step Three: Create Depth of Field Click the Selection Tool in the Tool Panel, and select the Bezier Curve Tool. Using the Bezier Curve Tool, click on the outline of the foreground object. Release, and click again on the outline a little further along a straight increment.
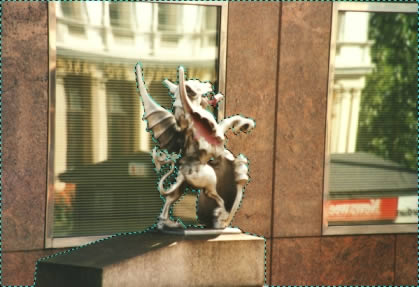
Note: A curved segment can be drawn by dragging the mouse after clicking, instead of releasing immediately. Dragging it in one direction will make a curve with the concave side in the direction of the mouse. If the mouse is accidentally clicked in the wrong position, press Backspace on the keyboard to remove the last drawn handle. When the outline has been completed, double-click the original handle to close the selection. To remove areas from the selection, ensure Even-Odd fill is selected on the Attribute Toolbar, and select areas to be removed using the same techniques as for creating a selection. Click Toggle on the Attribute Toolbar to display the final selection.
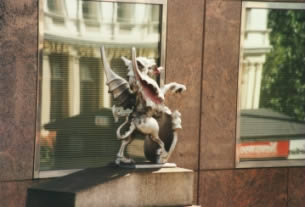
Right-click the new selection, and select Invert. This will select all parts of the image except for the outlined object. Select Effect: Blur – Average. Other Blur filters can be applied, such as Gaussian and Motion filters, although these tend to yield rather less natural effects.
Back to PhotoImpact Pro Tutorials
|